

Simple Embroidery Patterns for Shaky Hands: Beginner Guide
Last Updated: November 8, 2026
Quick Summary
Simple embroidery patterns for shaky hands use large, bold shapes with few tight details, so small slips still look intentional. Start with a design of three or four main shapes, and work with a loose grip and short, controlled stitches. A beginner kit with precut materials and clear instructions makes the first project easier to finish.
- Choose designs with large shapes, few color changes and wide spaces between lines.
- Use running stitches about 1/8 inch long and work backstitches in segments of four or five stitches.
- Hold the needle loosely and rest your wrist on the table edge or a firm cushion.
- Keep sessions to 15 to 20 minutes and take breaks to stretch your fingers and wrists.
Table of Contents
- Why Simple Patterns Work Best for Shaky Hands
- Beginner Embroidery Stitches That Are Easier to Control
- Simple Hand Embroidery Patterns You Can Print Free
- Embroidery Tools for Hand Tremors and a Steadier Setup
- Choosing Your First Kit: Start With an Easy Embroidery Pattern
- Frequently Asked Questions
Why Simple Patterns Work Best for Shaky Hands
Simple embroidery patterns for shaky hands are designs with large, bold shapes and few tight details. Beginner-friendly kits are built around this idea, so a steady hand is not required to get a neat result. Hand tremors make fine detail frustrating, but a pattern with wide lines and open spaces forgives small slips.

Think about the difference between a tiny rose with dozens of petals and a single large heart. The heart gives your hand room to move. Each stitch covers more fabric, so you finish sooner and see progress quickly. That early success matters, because many people give up on crafts when every project feels too hard.
Here is what makes a pattern forgiving:
- Large shapes that are easy to follow with the eye
- Few color changes so you spend less time switching thread
- Wide spaces between lines, so a wobbly stitch still looks intentional
- Clear stitch lines printed or marked on the fabric
Starting with a pattern that has no more than three or four main shapes is a sensible approach. Keep the number of small details low at first. You can always add complexity later, once your confidence grows.
Beginner Embroidery Stitches That Are Easier to Control
Some stitches are simply easier to control than others. The running stitch and backstitch are two common places to start.
The running stitch moves the needle in and out of the fabric in a straight line. It works well for outlines and gentle curves.
The backstitch creates a solid, continuous line. You work one stitch forward, then go back to fill the gap.
Once those feel comfortable, the satin stitch can be used for filling small areas. Keep the stitches close together and work in one direction. Short, controlled passes are easier to manage than long ones.
A common pattern is to grip the needle too tightly, which makes tremors worse. Hold the needle loosely between your thumb and index finger, and let your wrist rest on the table edge or a firm cushion.
Watch out: pulling thread too tight can pucker the fabric, and shaky hands make this more likely. Keep your thread loose enough to lie flat.
Simple Hand Embroidery Patterns You Can Print Free
Free printable patterns are a good way to test your skills without spending much money. Many simple designs are available as downloadable PDFs, and you can print them at home on plain paper or transfer them with a light box or water-soluble pen.
Start with designs that suit your skill level. Here are the categories that tend to work best for beginners:
- Simple shapes such as hearts, stars and circles
- Basic floral motifs with five or six large petals
- Single animal silhouettes with few internal lines
- Short words or initials in a bold, rounded font
Bold Shapes and Broad Motifs to Try First
Bold shapes give you the most forgiving results. A large heart or circle can be outlined with running stitches, then filled with a simple satin stitch. Because the shape is big and clear, small variations in your stitching blend into the design.
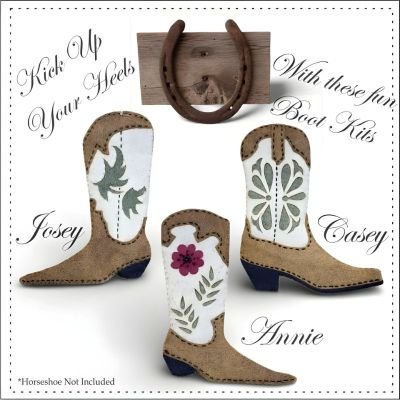
Broad motifs like a single sun or a simple leaf also suit beginners. They ask for few decisions and let you focus on steady, unhurried movement. If you want a ready-made option, the Cowboy Boot Hand Embroidery Stitch Kit for Beginners by Artsi2 includes the precut felt and floss you need, so you can focus on the stitching.
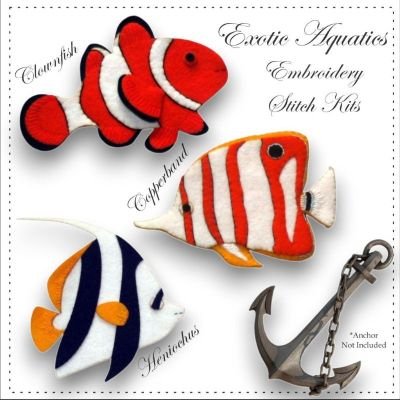
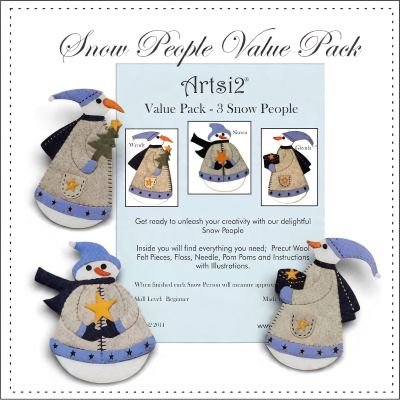
Our Snow People kits follow the same approach with large, simple shapes. The Snow and are a good match if you want bold motifs with everything included.
Adapting a Pattern for Hand Tremors
You can change almost any pattern to suit your hands. Enlarge the design when you print it, so the stitch lines sit farther apart. Remove tiny details such as small dots or thin inner lines, and replace them with a single solid shape.
Work with fewer strands of floss, too. Thinner thread is harder to control, but using two strands instead of six can make each stitch more manageable. Mark your guide lines in a bold color so you can see them clearly while you work.
A common mistake is trying to copy a complicated pattern exactly. Simplify it instead. A slightly loose Snowman that you finished feels better than a detailed one you abandoned halfway.
Embroidery Tools for Hand Tremors and a Steadier Setup
Your setup matters as much as your pattern. A stable workspace and the right tools can reduce strain and make each stitch easier to place.
Begin with a stable surface. A firm table, a wooden desk or a lap tray with a non-slip.
Choose tools that are easy to grip:
- Large-eye needles are easier to thread and handle than tiny ones. Some crafters also use needle threaders with a wide loop, which reduce the need for fine finger control.
- Thick, rounded scissors cut thread without needing fine finger control. Spring-loaded snips are another option, they open automatically and require less hand strength.
- A thread organizer or bobbin keeps floss from tangling while you work. Pre-wound bobbins save you from winding thread yourself, which can be tiring.
- A needle grabber or magnetic needle holder helps you pick up and position the needle without pinching.
Some people with tremors also find a hand-stabilizing glove or a wrist support helpful. These aids steady your hand without changing the stitch itself.
Seating position matters too. For a full rundown of basic supplies, see what you actually need to begin hand embroidery.
Take breaks often. Short sessions of 15 to 20 minutes are easier on your hands than long stretches, and they help you stay relaxed. Between sessions, gently stretch your fingers and wrists.
The table below summarises the tool and setup choices the article recommends for a steadier stitching session.
Tool or setup |
Why it helps |
Key feature |
|---|---|---|
Large-eye needle |
Easier to thread and handle |
Less need for fine finger control |
Thick, rounded scissors |
Cuts thread without fine control |
Spring-loaded snips open automatically |
Thread organizer or bobbin |
Prevents tangling |
Pre-wound bobbins save winding effort |
Needle grabber or magnetic holder |
Picks up and positions needle |
Avoids pinching |
Firm table or lap tray |
Stops hoop wobbling |
Non-slip mat |
Adjustable task lamp |
Reduces shadows on stitch lines |
Daylight bulb reduces eye strain |
Short sessions |
Eases hand strain |
15 to 20 minutes per session |
Choosing Your First Kit: Start With an Easy Embroidery Pattern
A kit removes the guesswork. When you choose a beginner kit, look for precut materials, clear instructions and a design with bold shapes. These features help you finish a project rather than abandon it halfway.
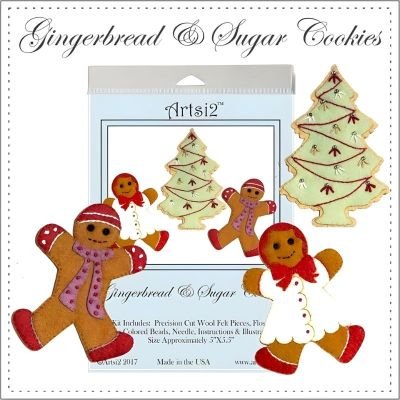
Artsi2 offers several kits that fit this approach. The Cowboy Boot Hand Embroidery Stitch Kit for Beginners by Artsi2 costs $7.75 and includes precut wool felt, perle cotton floss and a needle, with written instructions and illustrations. If you want more than one style, the Cowboy Boot Value Pack costs $21.00 and includes three designs.
Hand embroidery kits are also a good match for travel, since they are portable and easy to pick up whenever you have a few spare minutes.
Choose a kit with a simple design, a finished size you like and clear instructions. Then start with one small project. Once you finish it, you will know exactly what you enjoy and what to try next.
Frequently Asked Questions
What embroidery stitches are easiest to do with shaky hands?
Running stitch, backstitch and simple satin stitch are usually the most forgiving choices. They use larger, evenly spaced movements and do not require many precise tight turns. Stitch slowly, keep stitches a little longer than usual, and rest your hand on the work surface between stitches. Beginners often find that a few steady, repeated stitches build confidence faster than an intricate design would.
Are bold embroidery patterns easier to follow?
Generally, yes. Bold outlines and large shapes leave more room for error and are easier to see on the fabric. Fine lines and tiny details demand more precision than many beginners with tremors can comfortably manage. Starting with a simple motif, such as a snowman or a boot, lets you practice the basic stitches before attempting more layered designs.
Where can I find free printable embroidery patterns?
Many craft websites and embroidery blogs offer free printable PDF patterns you can download and trace onto fabric. Look for patterns labeled beginner-friendly, and choose designs with large shapes and minimal fine detail. Printing at full size and transferring the outline with a water-soluble marker or a light pencil lets you start stitching without any extra tools. Ready-to-stitch kits with materials included are another option if you prefer to skip the transfer step.
